|
InDesign 5x5 Picture Frame
Setting the New Document in InDesign
I'm hoping we're starting from a more "advanced" place, but I've included steps from the previous tutorial just in case. I want you to create a 5x5 Picture Frame on your own (after the midterm). This step-by-step procedure isn't the best, but it's worthwhile. Try to work through any issues before calling me over because your other classmates might still be taking the exam. Please note: You'll be using InDesign and Photoshop.
Getting Started
- Change the Units to inches.
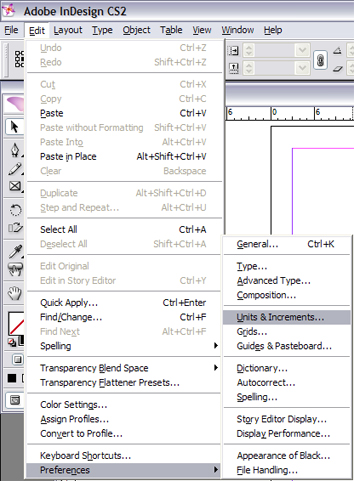
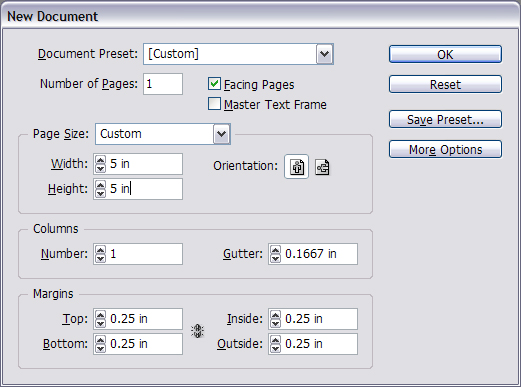
- Open a New Document: File-->New-->Document.
Change Width and Height to 5 in.
Change Margins to 0.25 in all the way around.
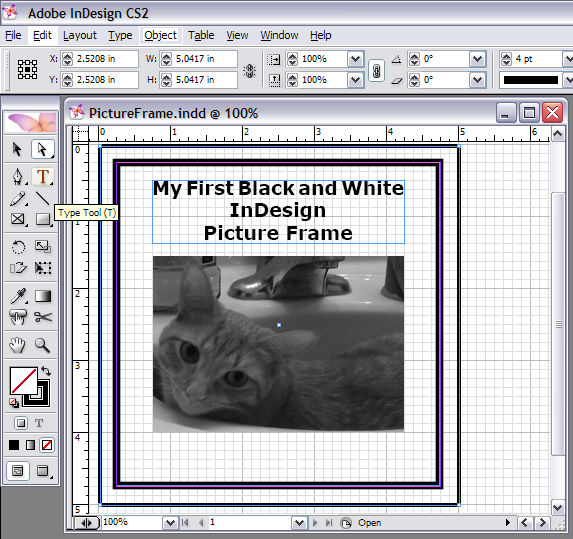
Drawing Boxes
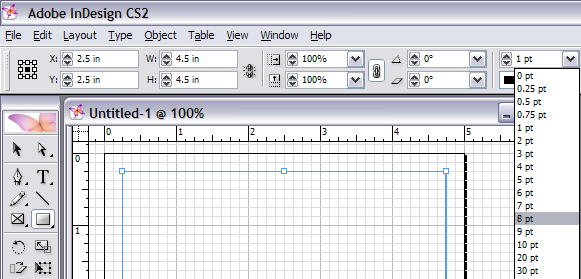
- Select the Rectangle Tool.

- Draw a box on the margin (pink lines will turn blue) and make it 8 pt.
Repeat the box for the outer edges of the document.
You should now have two boxes. Make the second (outside box) 5 pt or smaller.
Getting an Image
- You'll need an image that will fit into the "picture frame."
Open your image with Photoshop. You need to open Photoshop up because you started in InDesign.

Do not use my babies for this. Pick another image--even if you have to logon to Facebook to get it.
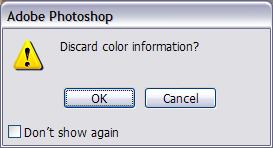
- Change the Image to Grayscale: Image-->Mode-->Grayscale.
Click "OK" if the "Discard color information?" box appears.
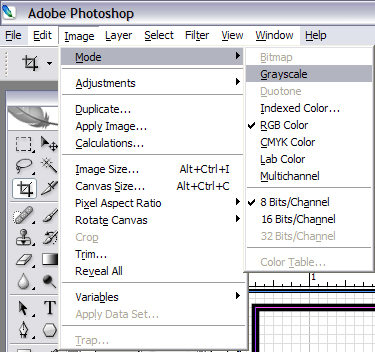 
- Your image should now be in grayscale.
Save the image as a jpeg (.jpg).

Placing an Image
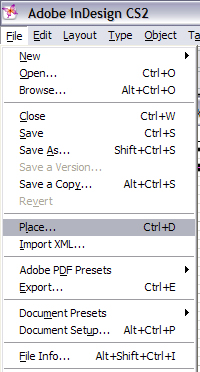
- Place the image in InDesign.
- The Image should fit into the first (inside) box and have space above for text.
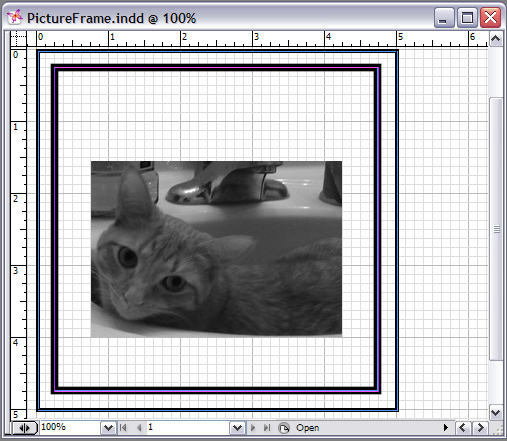
- Draw a Text Box and type a title of your choice.
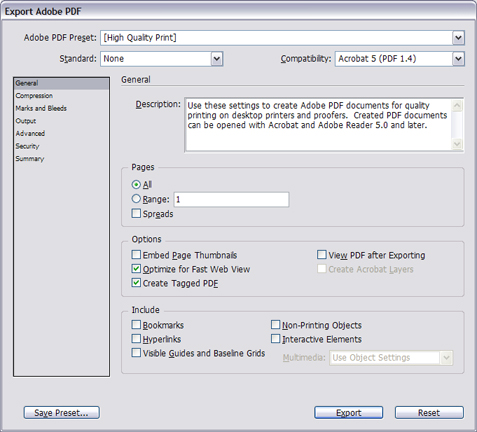
Exporting as a PDF
- Save your work and then Export it as a PDF: File-->Export.
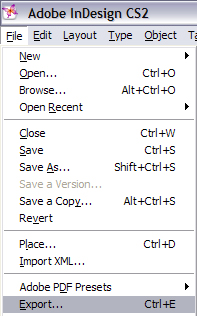
- Name your file and make sure "Save as type:" is set to Adobe PDF.
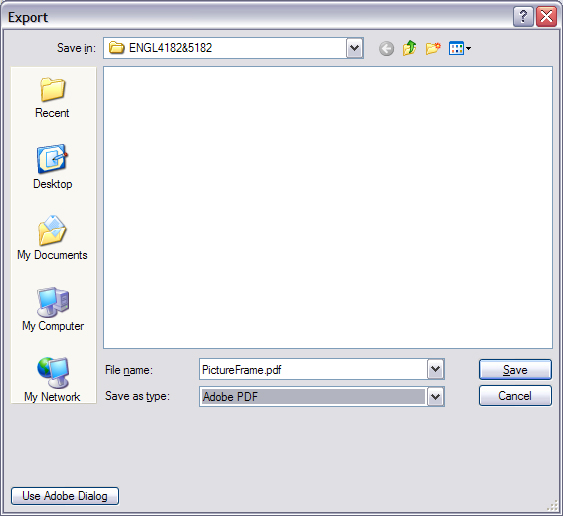
- Keep the PDF high quality and click the Export button.
Now, make a link to your PDF "Picture Frame" from you home page.
After you finish this virtual picture frame, do the UNC Charlotte Logo in Photoshop using this tutorial.
|