Home
GeoDesign
Tutorial 1.5 - Presenting Census Data in GIS
In this tutorial, you will learn how to use GIS to "geographically" present Census data.
PART A. Getting Census Data
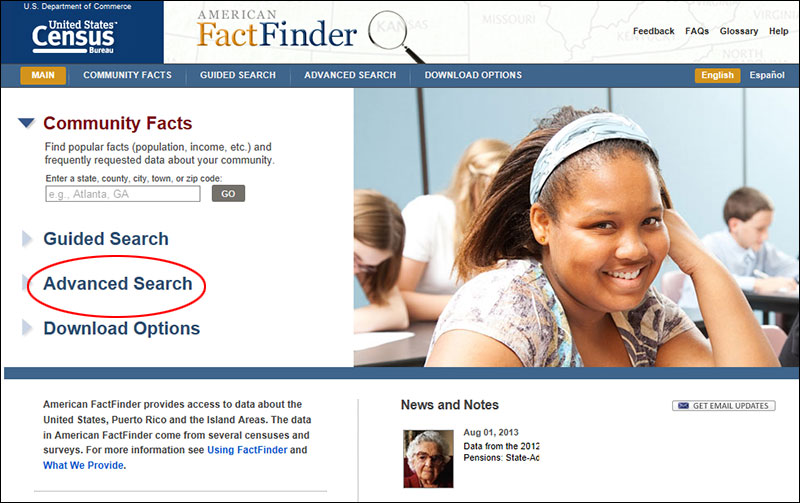
First go to: http://factfinder2.census.gov/faces/nav/jsf/pages/index.xhtml
This is the portal to the newest Census 2010 (as well as the old Census 2000) database. Click Advanced Search and then click Show Me All button.
Click Geographies to set the geographic limit and units for which you want to get the census data out.
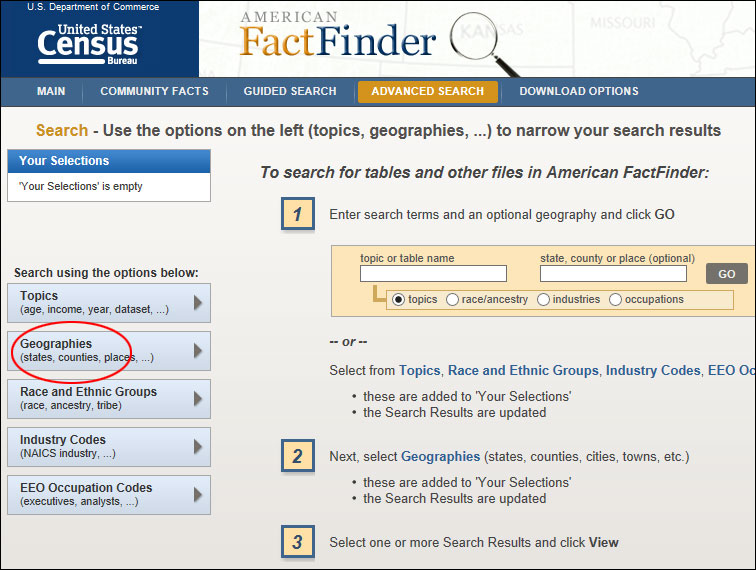
You then will see another window, called Select Geographies, displayed over the previous one. This interface allows to set your geographic limit and division units for census data.
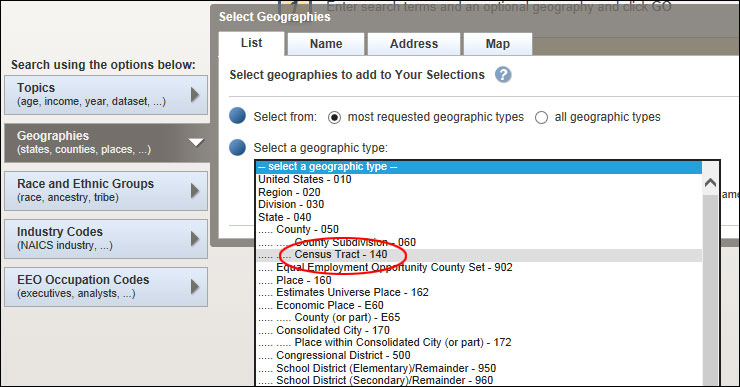
First click Census Tract from the Select a Geographic Type list in the window.
Then click Within State from the list. Then choose North Carolina from the list to refine your filter. You have just added another geography filter. Now click Within County from the list and select Mecklenburg from the list. You added another geography filter to further narrow down the geographic extent for viewing/downloading census data. Then Click All Census Tracts within Mecklenburg County in the box then hit the button Add to Your Selections.
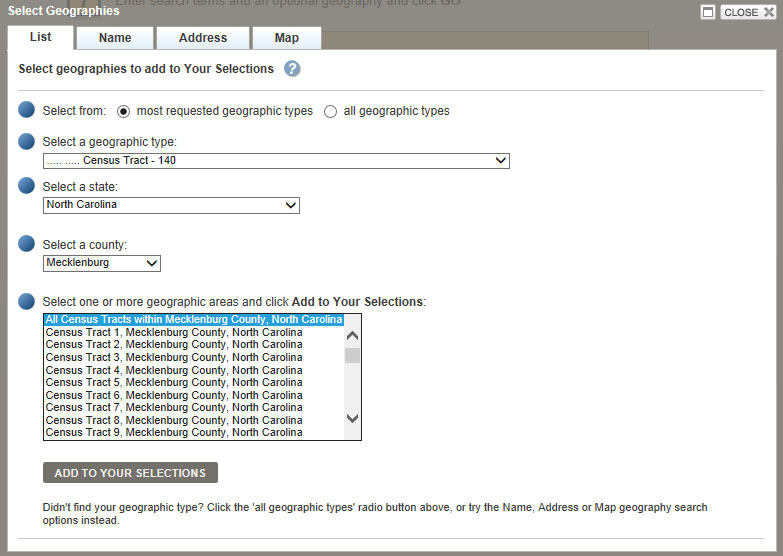
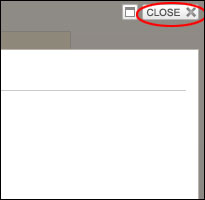
You now can close the Select Geographies window by clicking the CLOSE X button on the top-right corner of the window.
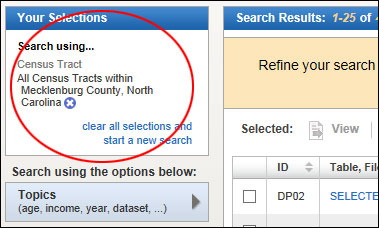
Back to the main page, you now can see your selections displayed on the top-left corner of the page.
You now can decide what type(s) of census data you would like to see. Click Topics to see all your options.
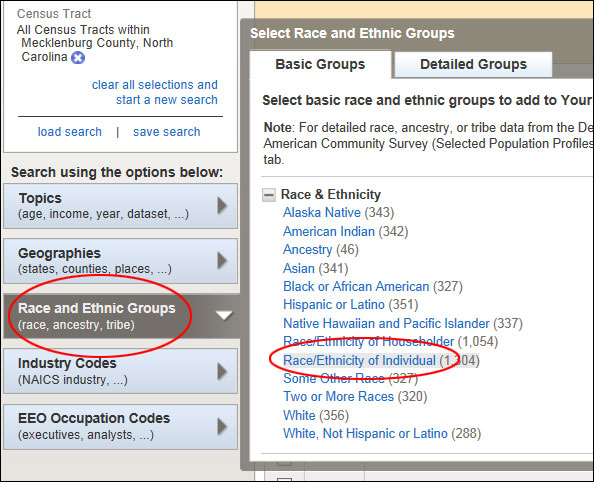
If you are simply looking for information about people (such as race), click Race and Ethnic Groups, then choose Race/Ethnicity of Individual from the list. After that, clicking the X button on the top-right corner of the window to close it.
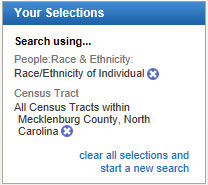
In the Your Selections box, you can see the census topic has been added in.
Now look at the table showing all available census results, find (the navigation buttons are located on the up-right corner of the table) and check P1 RACE (this is from census 2010 data).
If you do not see P1 RACE on the list, you can search it by typing in "P1" in the search box, then click GO, as shown below in the image.
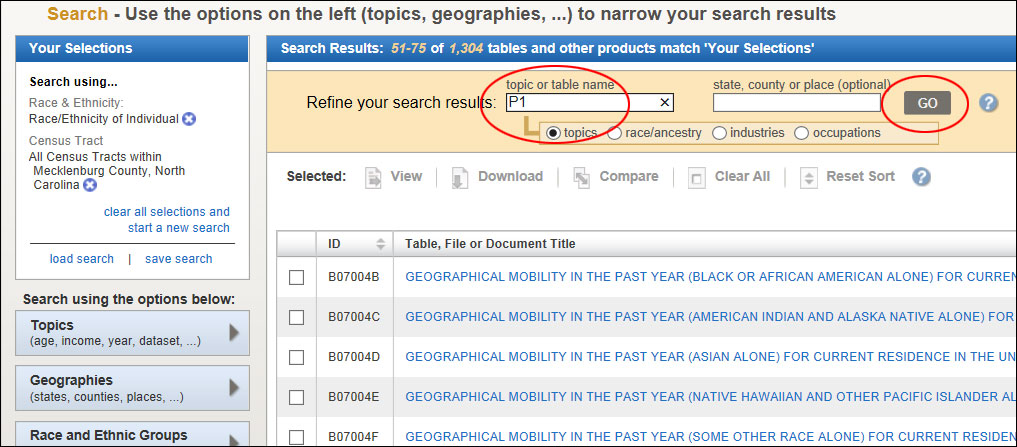
You should now see P1 on the list. Check the box next to it.
Now you can start to download this particular census topic from the website. Click Download button (both on the top and bottom of the table).
Click OK when see the message below:
Then in the next message box, first press and hold down the Ctrl key on the keyboard then click DOWNLOAD. (in fact you have to keep pressing down this Ctrl key for the next few steps until you successfully download the zipped file from the site, pressing Ctrl key disables Internet Explorer's pop-up blocker)
Then click Open (pressing down the same time the Ctrl key), you should then be able to see the content in this zipped file.
Then in the folder window it appears, click Extract all files and save them in a folder that you can locate in your computer. (I suggest you create a new folder on Desktop)

There will be two Excel files listed in the folder. Open the file DEC_10_PL_P1_with_ann. The other Excel file contains descriptions of all the fields.
You have to eliminate row 2 of the Excel file, select the entire row 2, right-click then select Delete.
You have to adjust the format for the second field, GEO.id2, to make it consistent with what is typically used by GIS data.
Click column C, then right-click, click Insert from the menu to add a new column between column B and C.
Click the cell C1 in the Excel table, type in ID. This will be the new header for the new identifiers. Click the cell C2, click Insert Function button.
This will bring in the Insert Function wizard. You will select a function from Text category. Then choose Text as the function, which will turn the numerical characters into a text string. Click OK.
In the next window, click the Value box, then click the cell B2, you should see B2 shows in the box. Then type # in the Format_text box. You should also see that in the cell C2, the function formula now reads as (B2, #). Click OK.
Adjust the width of the C column so that it fits the length of the text string and you can see the entire text string. To apply this function formula to the rest of the cells in this field, double-click the black dot on the lower-right corner of the box (with a thicker black border).
Now all the text strings with only 11 characters from the right-hand size all displayer in the C column.
Save all the changes you just made by using Save As (DO NOT use Save), then save your file as an Excel 97-2003 Workbook (.xls). You may want to save the table under a different name, such as Data. (ArcGIS 10 does NOT read the newest Office 2010 .xlsx format, however, it works fine with Office 2007 .xlsx format; save as an older .xls format is considered a safer choice). By using Save As, the original .csv file is left untouched with all the original descriptions for census data.

Close Excel.
PART B. DOWNLOAD GIS LAYER
You are now going to import this data table into ArcMap. But before doing that, you have to download a base layer with census tracts boundaries on it.
Go to Census Bureau website to download GIS data layers for census boundaries (along with many useful GIS datasets).
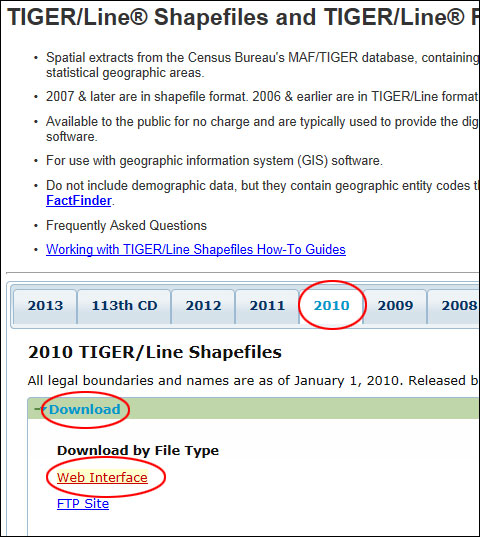
http://www.census.gov/geo/maps-data/data/tiger-line.html
Click 2010 and then Download, you will need GIS layers for Census 2010 data.
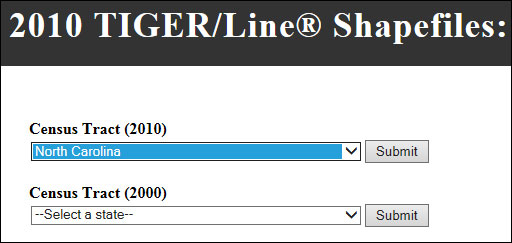
In the next page, select Census Tracts from the drop-down menu. Click submit button.
Select North Carolina from the drop-down menu for Census Tract (2010). Click Submit.
Finally, select Mecklenburg County from the menu in the next page. Click Download (be sure to press and hold down the Ctrl key).
Open the zipped file when being asked. Then in the folder window it appears, click Extract all files and save them in the folder that you created in My Documents.
PART C. LINKING EXTERNAL DATA
Then open ArcMap with a blank map. When you see Getting Started window, just click Cancel, this will oepn a blank map in ArcMap.
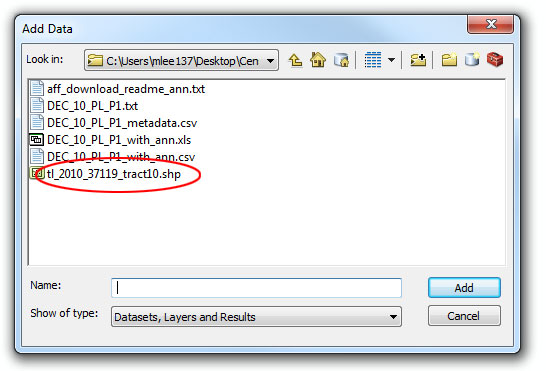
Click Add button ![]() , in the Add Data window, click Connect to Folder button, browse to locate your folder. Then you may have to find the path to the folder in the Look in: drop-down menu. Then when you are in your folder, select tl_2010_37119_tract10.shp shapefile, click Add.
, in the Add Data window, click Connect to Folder button, browse to locate your folder. Then you may have to find the path to the folder in the Look in: drop-down menu. Then when you are in your folder, select tl_2010_37119_tract10.shp shapefile, click Add.
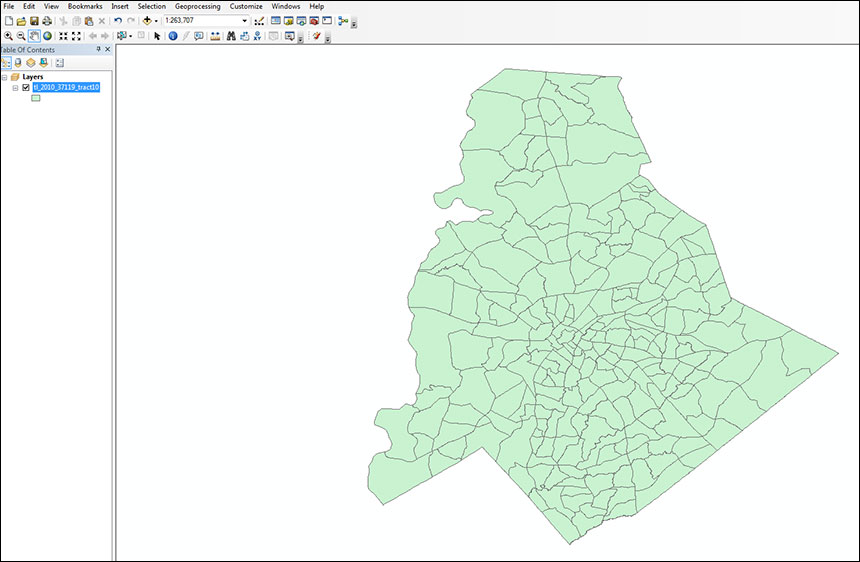
You should see Mecklenburg County map with all the census tracts.
Right-click the layer and open its attribute table,
pay attention to a field called GEOID10,
this field contains the same identifiers that you worked on before in your census data table, the column named ID in the Excel file has the same tract identifiers. And we will use these IDs to join the census data table to this GIS layer.
First add the census data table to your map. Click Add Data button and browse to find your Excel file (DEC_10_PL_P1.xls, the one you saved with an older Excel file format), double-click the Excel file and add the table (DEC_10_PL_P1$) into your GIS map.
Right-click the layer again, and choose Joins and Relates > Join...
In the dialog window, set the settings as shown below
Be sure to use GEOID10 as the IDs for the GIS layer and ID for the census Table.
When done, open the attribute table again, and you should find all the fields that contain census information (population, race) for all the census tracts in Travis County.
Now you can adjust Symbology to change the way ArcMap displays this layer.
Right-click the layer again, and choose Properties, then Symbology,
In the dialog, set the settings as shown below. (D001 field contains population for all race)
1. Shows: Quantities > Graduated colors
2. Fields: Value (D001 field contains population for all race)
3. Choose how many classes you want to use in terms of classification
4. choose a color scheme
then apply these new settings to your layer as shown below

Exercise 1.5 - GIS and Census Data
The deliverable:
Your assignment is to complete the following task:
- Please follow the above in-class demo instructions and create maps to show at least THREE characteristics of socio-demographic information for Mecklenburg County at the level of Census Block Groups (NOT Census Tracts).
Be sure to use Microsoft Word to put all your maps together.
The assignment is due on Sep 15, 5:00pm. Please submit your assignment to Moodle.
prepared by Ming-Chun Lee, 09/06/2016